

Why a Loose Valve Ring Is a Pressure-Retention Failure, Not a Cosmetic Issue
A valve ring that rotates freely or shows a visible gap at the flange is a compression-loss failure. The ring no longer seats the valve body against the fabric or hard flange, so every inflation cycle leaks air at the thread root. On commercial inflatables, this is one of the most common field-service faults because the ring is the only component designed to be re-torqued without removing the valve. A valve wrench exists precisely for this task: it engages the ring’s flats or internal lugs and applies controlled torque without crushing the valve stem or distorting the surrounding PVC or TPU coating.
The decision is straightforward. If the ring is intact and the valve body is undamaged, re-torquing with the correct wrench restores the seal in minutes. If the ring is cracked, cross-threaded, or the fabric around the flange has delaminated, the wrench alone will not fix it and the valve assembly must be replaced. This article covers the diagnostic sequence, the correct wrench technique, and the commercial criteria for repair versus replacement.
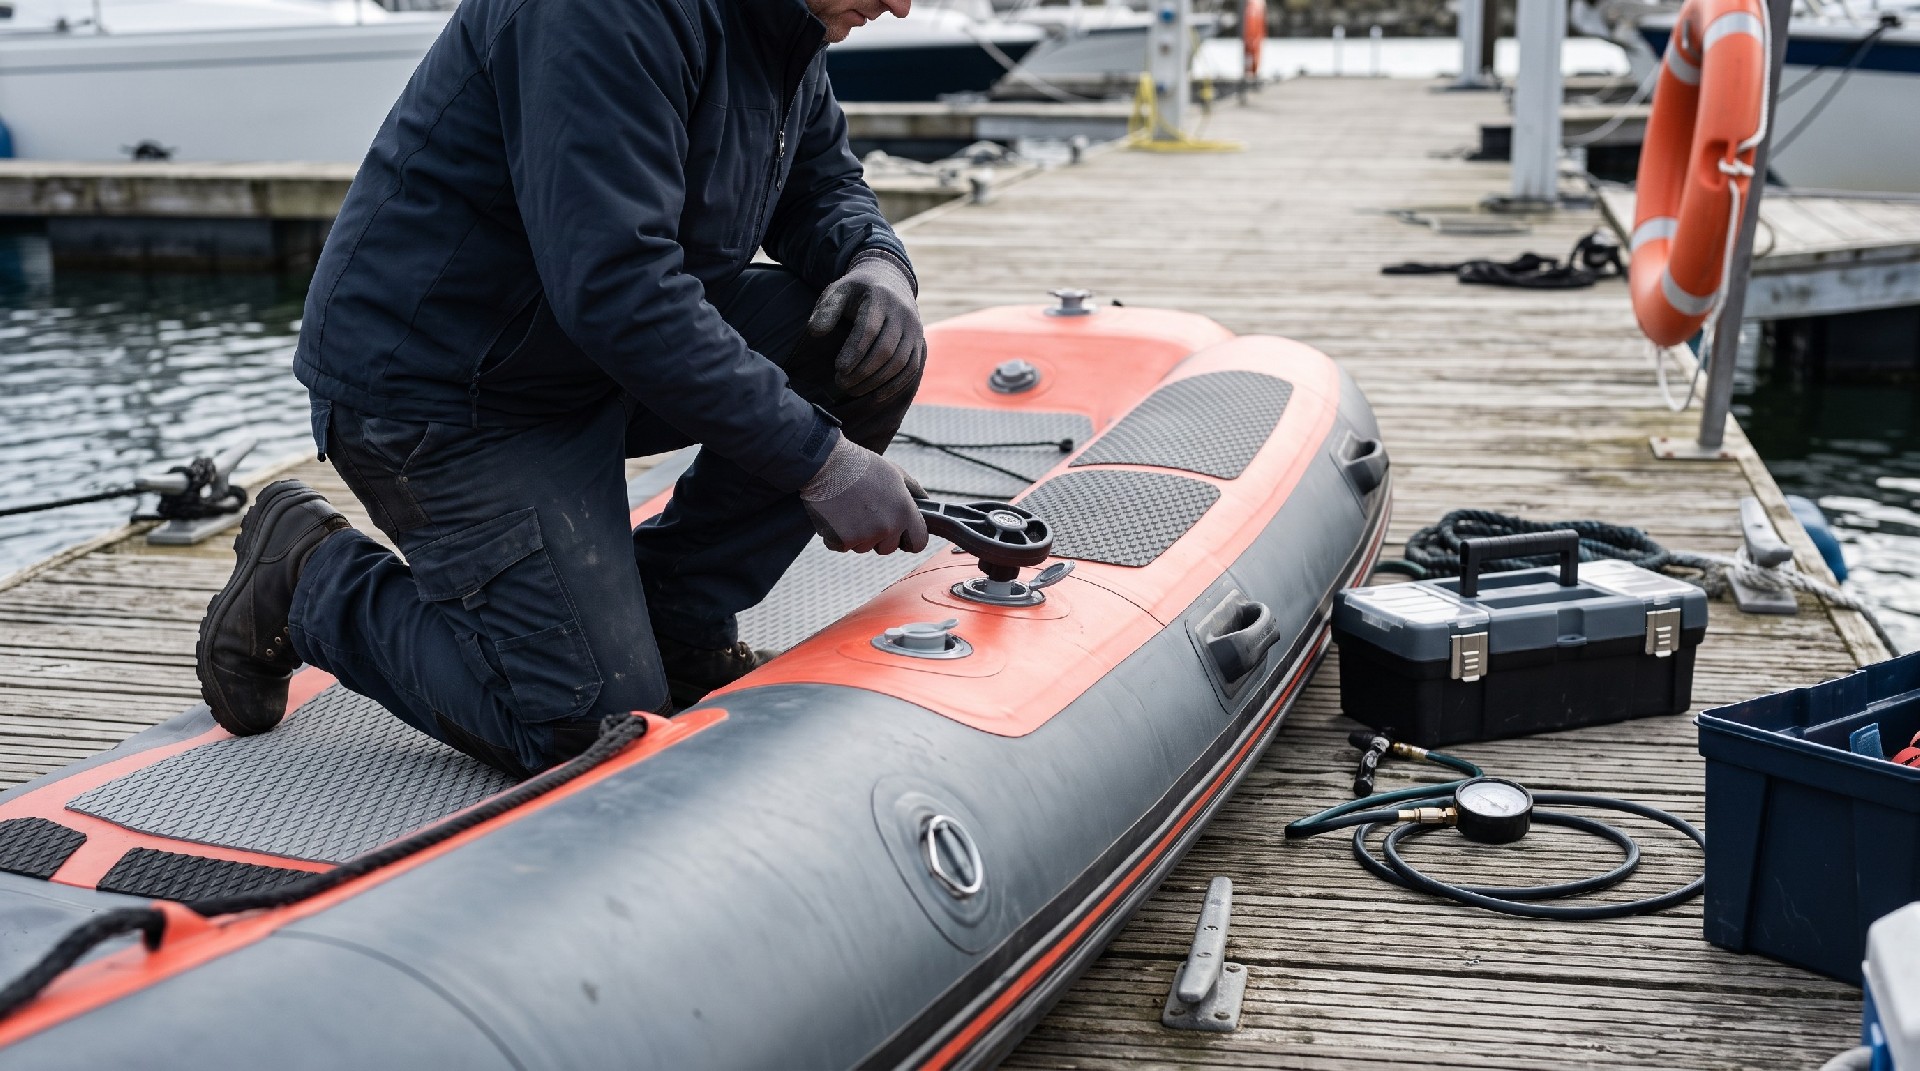
Diagnosing Whether the Ring Is Loose, Cross-Threaded, or Seated on Damaged Fabric
Before applying any tool, isolate the fault. Inflate the product to its normal working pressure and listen at the valve. A loose ring usually produces a slow, steady hiss at the ring-to-flange junction, not at the valve cap. Then deflate slightly and attempt to rotate the ring by hand. A correctly seated ring should not move under moderate hand force. If it turns easily, the compression has been lost.
Next, inspect the three failure zones that a valve wrench can and cannot address:
Ring-to-flange compression: the ring has backed off. This is wrench-serviceable.
Thread condition: cross-threading or stripped threads on the valve body or ring. A wrench may tighten a partially engaged ring, but if more than one thread is damaged, replacement is required.
Fabric-to-flange bond: the coating has lifted or the weld has failed. Tightening the ring here can worsen the leak by pulling the flange into the fabric. This is a replacement or re-weld job, not a wrench job.
On drop-stitch and coated-fabric products, the valve flange is typically bonded or welded into the panel. The ring compresses a gasket or an O-ring against that flange. The wrench’s job is to restore that compression to the supplier’s specified torque, not to force a seal against a failed bond.
Using a Valve Wrench Correctly: Torque, Sequence, and Seal Protection
A valve wrench is not a general-purpose spanner. It is sized to the ring’s flats or lug pattern, and using an adjustable wrench or pliers is the fastest way to round the ring and void the valve’s serviceability. Select the wrench that matches the valve model. Most commercial inflatable valves use a ring with either two flats, four internal lugs, or a splined profile, and the wrench must engage the full depth of that feature.
Deflate the product to a low residual pressure before tightening. Working on a fully inflated chamber increases the risk of the flange rotating in the fabric. Then follow this sequence:
Seat the wrench fully onto the ring. Do not use a cheater bar.
Tighten in small increments, checking rotation and listening for the leak to stop.
Stop when the ring is snug and no longer turns under moderate force. Do not over-torque to chase a leak that is coming from the fabric bond.
Re-inflate to working pressure and re-check with soapy water at the ring junction.
Typical commercial valve rings are designed for hand-tight plus a quarter to half turn with the correct wrench, but the exact target is supplier-dependent and should be verified against the valve datasheet. Over-torquing can crack the ring, deform the valve body, or compress the gasket past its elastic limit, which creates a permanent leak.
| Observed Symptom | Likely Cause | Diagnostic Check | Corrective Action |
|---|---|---|---|
| Slow hiss at ring junction under pressure | Ring has backed off, compression lost | Ring rotates by hand; threads clean; fabric bond intact | Re-torque with correct valve wrench to supplier target |
| Ring turns but leak persists after tightening | Cross-threaded or stripped ring/body threads | Inspect thread engagement; check for metal or plastic debris | Replace valve assembly; do not force torque |
| Leak at fabric-to-flange boundary | Coating lifted or weld failed | Soapy water test at flange edge; inspect for delamination | Re-weld or replace valve; wrench will not seal this fault |
| Ring cracks or deforms during tightening | Over-torque or incorrect wrench profile | Visual crack inspection; check wrench fit | Replace ring and valve; verify wrench compatibility |
| Recurring loosening on same valve | Vibration, thermal cycling, or worn gasket | Service log review; compare torque retention over time | Replace valve assembly; add to replacement schedule |
When the Wrench Fixes It and When It Does Not
The wrench is the correct first response when the ring has simply backed off through repeated inflation cycles, thermal cycling, or vibration during transport. It is also the right tool for preventive maintenance: checking ring tightness at every scheduled inspection catches the fault before it becomes a pressure-retention problem.
The wrench is not the answer when the ring is cracked, the threads are stripped, the valve body is deformed, or the fabric around the flange has delaminated. In those cases, tightening may temporarily reduce the leak but will not restore a reliable seal. For rental fleets and commercial operators, the practical rule is: if the ring does not hold torque after two attempts, replace the valve assembly. Continuing to run a valve that cannot hold torque creates a downstream failure risk at the worst possible time.
Spare-parts planning matters here. Valves and rings are low-cost components, but a fleet without spare valve assemblies will keep a unit out of service for a trivial fault. Stocking the correct wrench and a small ratio of replacement valves is usually cheaper than a single lost rental day.
[IMAGE_2]
Repair-or-Replace Decision for Commercial Operators
Use the wrench when the ring is intact, the threads are clean, and the fabric bond is sound. Replace the valve when the ring or body is damaged, when the fabric flange has lifted, or when torque cannot be restored. Document the torque check in the unit’s service log so that repeat loosening on the same valve is treated as a replacement trigger rather than a recurring maintenance task.
For buyers specifying new equipment, the valve interface is a serviceability decision. A valve with a standard ring profile, a published torque target, and an available wrench is easier to maintain in the field than a proprietary assembly that requires factory service. Verify the valve model, ring profile, and wrench compatibility before the fleet goes into service.