

Why Crate Placement Decides Whether Your Kayak Tracks or Wallows
A storage crate on an inflatable kayak is not a neutral accessory. Every kilogram you strap to the deck raises the center of gravity, alters trim, and adds point loading to a floor that was engineered for distributed human weight, not concentrated hard-edged cargo. The difference between a stable fishing platform and a tippy, sluggish hull usually comes down to three installation decisions: where the crate sits longitudinally, how its load is spread across the tube and floor, and whether the attachment system can survive repeated inflation cycles without abrading the hull. This guide covers the installation sequence, hardware choices, and load limits that matter when you build a DIY crate system for an inflatable kayak.
Match the Crate System to Your Hull Architecture Before You Drill or Glue
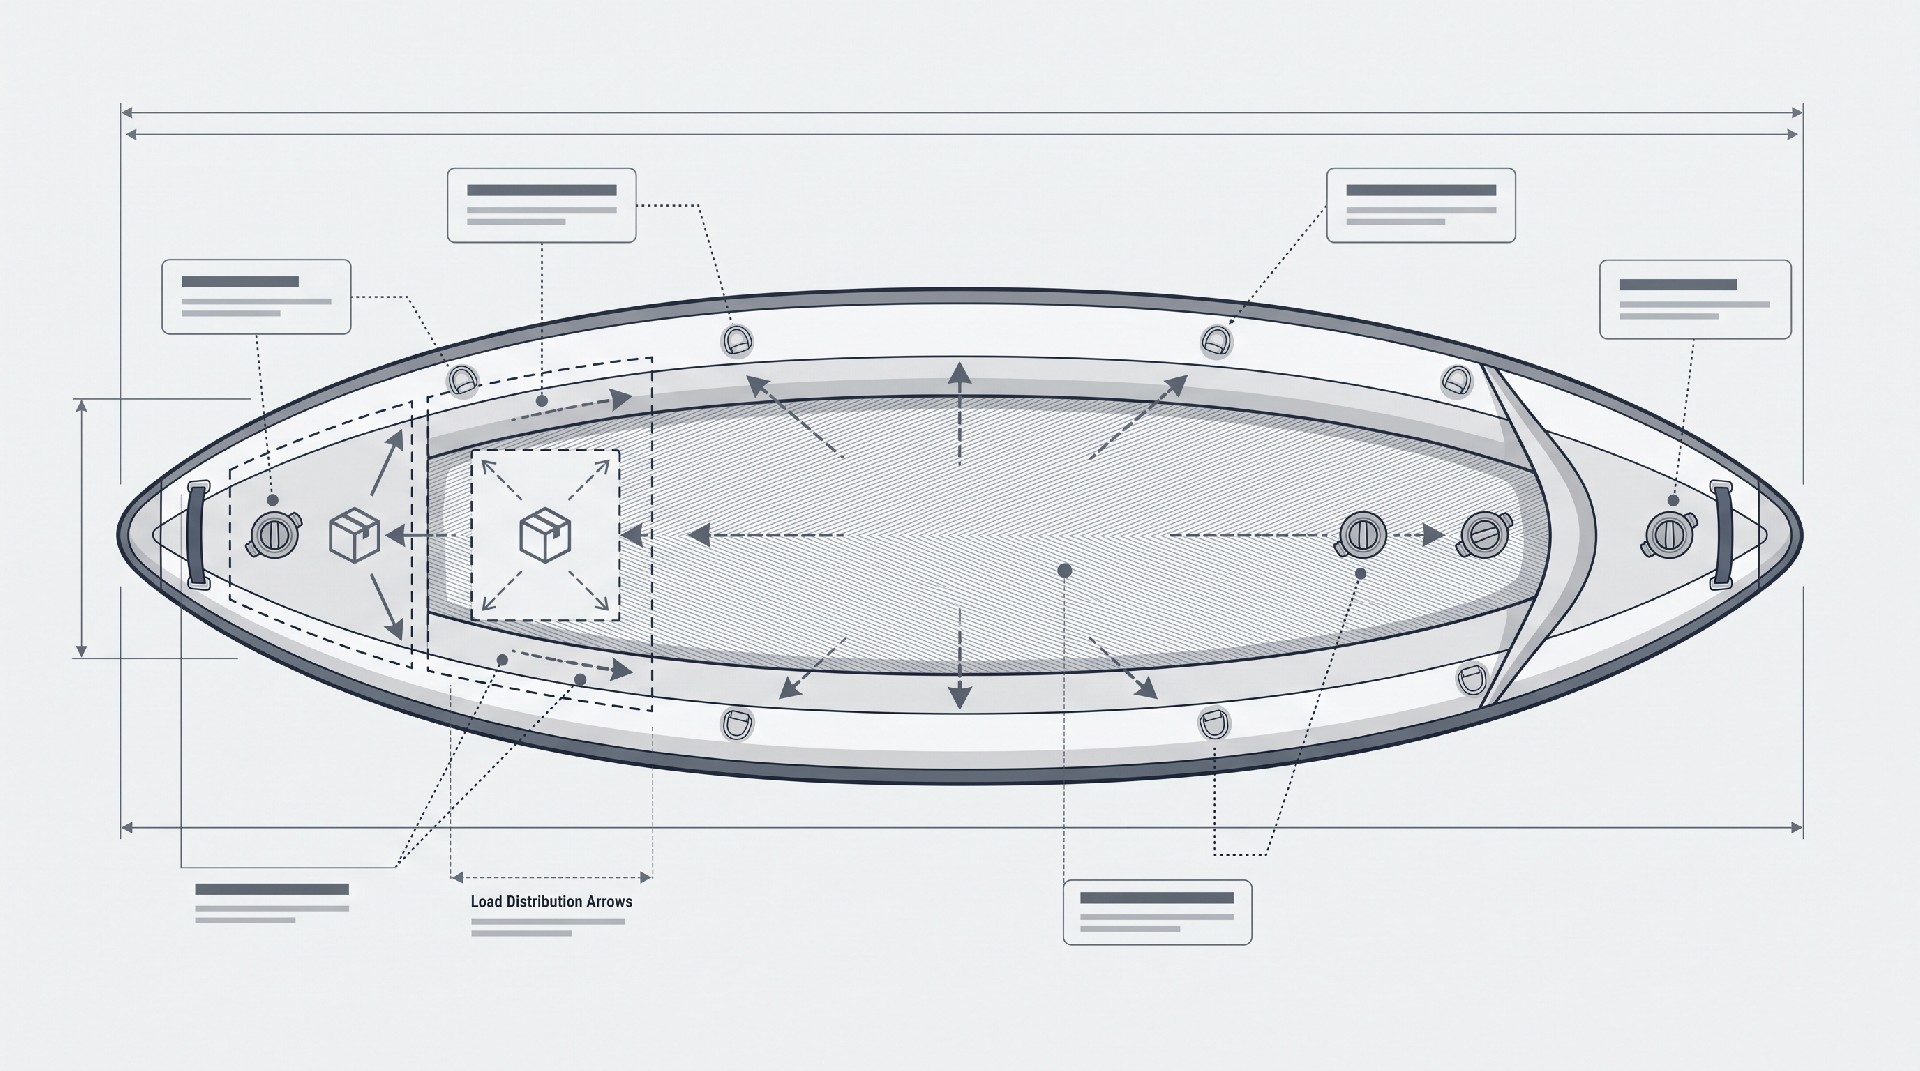
Inflatable kayaks fall into two broad structural families, and each demands a different mounting approach. Drop-stitch high-pressure floors (commonly run at 6–12 PSI in the floor chamber, supplier-dependent) behave like a rigid platform and can accept strapped or bolted accessories with backing plates. I-beam or inflatable floors at lower pressure (often 1–3 PSI) flex under point loads and should never carry a hard-mounted crate without a load-spreading base.
Identify Your Attachment Zones
D-rings and lash points: Most inflatable kayaks ship with factory-welded or glued D-rings. Their pull strength is supplier-dependent; typical commercial-rated D-rings target 100–200 kgf, but recreational-grade rings are often far lower. Verify before trusting them with a loaded crate.
Tube tops vs. floor: Mounting to the tube keeps the crate above water and clear of the floor, but raises the center of gravity. Mounting to the floor lowers the load but risks abrasion and restricts legroom.
Valve and baffle locations: Never place a backing plate or bolt over a valve, seam, or internal baffle. Doing so creates a leak path that is expensive to repair.
Choose a Crate That Fits the Hull, Not the Other Way Around
Dry boxes and milk crates are the two dominant DIY choices. A dry box offers weather sealing and a flat top for mounting rod holders or a fish finder. A milk crate is lighter, drains water, and accepts modular dividers. For most inflatable kayaks, a crate footprint of roughly 30 × 40 cm with a loaded mass under 8–10 kg is a practical ceiling; beyond that, handling and stability degrade quickly unless the hull is a wide, high-payload tandem model.
| Installation Decision | Typical Commercial Target | Why It Matters | Buyer Check |
|---|---|---|---|
| Crate working load | 5–10 kg loaded mass for solo hulls; up to 15 kg for wide tandem hulls | Exceeding hull trim limits causes yaw instability and increased drag | Confirm total payload rating minus paddler and gear weight |
| Floor type | Drop-stitch floor at 6–12 PSI; inflatable floor at 1–3 PSI | Determines whether bolted backing plates or only strap-on mounting is safe | Check the kayak datasheet or inflate and press-test the floor |
| Attachment method | Cam straps through D-rings for removable setups; adhesive D-ring patches for semi-permanent | Bolted hardware creates permanent leak paths if placed incorrectly | Inspect D-ring weld or glue quality and pull-test before loading |
| D-ring pull strength | Typical commercial target 100–200 kgf; recreational rings often lower | Weak rings can fail suddenly under shock loads from waves or portage | Request pull-strength test data from the supplier |
| Load-spreading base | 6–10 mm closed-cell foam or HDPE plate slightly larger than crate footprint | Prevents point loading and abrasion on the hull floor | Dry-fit the plate and confirm it does not block valves or seams |
| Strap tension | Crate movement under 1–2 cm in any direction when loaded | Loose crates shift and abrade; over-tensioned straps deform the hull | Perform a lean test at 15–20 degrees each side before launch |
| Installation reversibility | Adhesive and strap systems are reversible; bolted systems are not | Permanent modifications void most warranties and reduce resale value | Decide before installation whether the hull must remain unmodified |
Installation Sequence: From Dry Fit to Tension Check
Work through this sequence with the kayak fully inflated to its normal operating pressure. Inflating after installation can shift the hull geometry and change strap tension.
Step 1: Dry-Fit and Mark the Crate Position
Place the crate in the rear cargo area or just forward of the paddler, depending on your load plan. Sit in the kayak in your normal paddling position. The crate should not contact your back, PFD, or spray skirt. Mark the four corner positions with removable tape, not permanent marker.
Step 2: Build a Load-Spreading Base
Cut a 6–10 mm closed-cell foam or HDPE base plate slightly larger than the crate footprint. This plate distributes point loads across the floor and protects the hull from abrasion. For drop-stitch floors, a thin foam pad is sufficient. For lower-pressure inflatable floors, use a wider HDPE plate and consider a second foam layer.
Step 3: Select and Route the Attachment Hardware
Cam straps or webbing: The safest general-purpose option. Route through factory D-rings or through webbing loops you add with PVC or TPU-compatible adhesive. Cam straps allow quick tension adjustment and release.
Bungee cord: Acceptable for light loads under 3 kg. Not suitable for heavy crates because it allows shifting and cannot be tensioned reliably.
Bolted backing plates: Only for drop-stitch floors or reinforced tube sections. Use stainless steel hardware, wide backing plates, and a flexible marine sealant. This is a permanent modification and voids most warranties.
Adhesive D-ring patches: A middle path. Use only adhesives specified for your hull material (PVC, TPU, or Hypalon/CSM). Cure time is typically 24–72 hours depending on temperature and adhesive type.
Step 4: Tension and Test
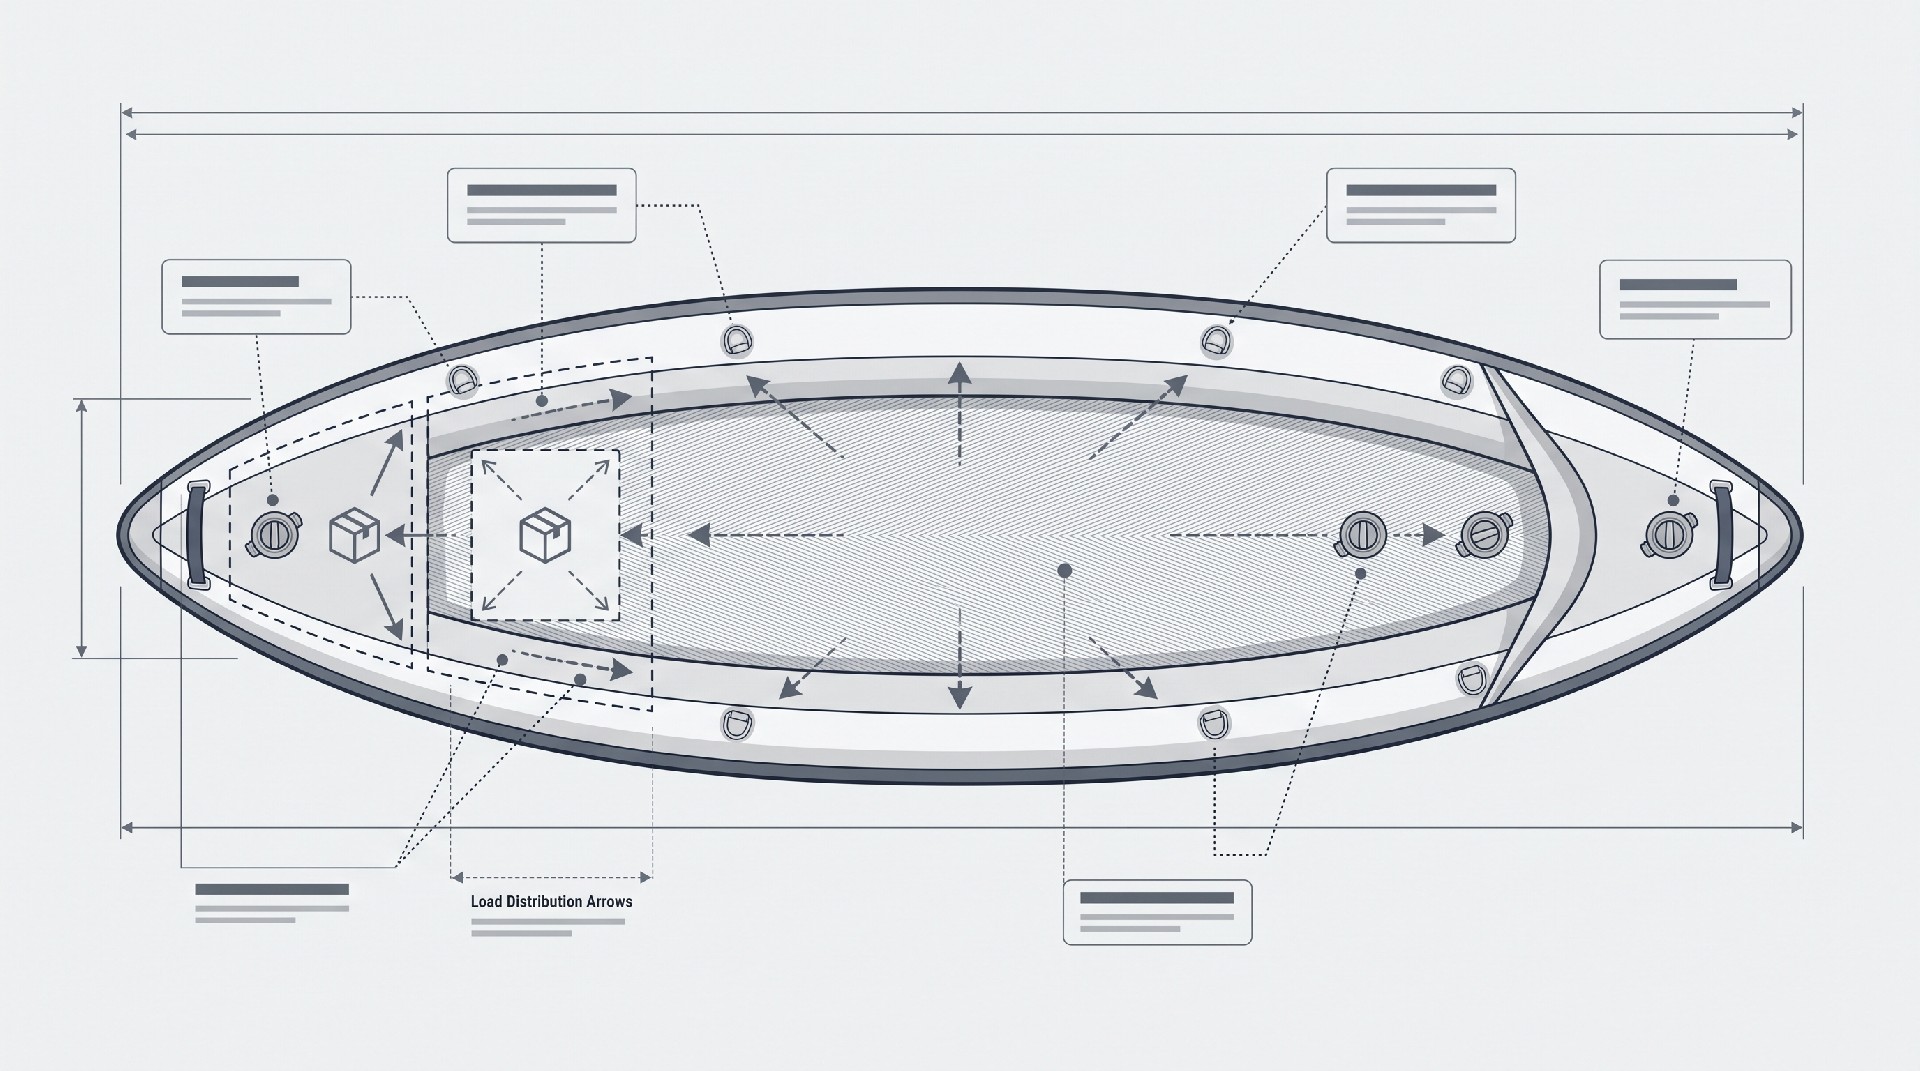
Load the crate to its intended working weight. Tension straps until the crate cannot shift more than 1–2 cm in any direction. Check that no strap crosses a seam, valve, or baffle at a sharp angle. Then perform a stability test: sit in the kayak, lean 15–20 degrees to each side, and confirm the crate does not shift or pull the hull asymmetrically. If the kayak feels tippy, reduce load or move the crate forward or backward to adjust trim.
Load Limits, Trim, and the Decision That Matters Most
There is no universal payload figure for a crate on an inflatable kayak. The practical limit depends on hull volume, tube diameter, floor type, and person capacity. A single-person recreational kayak with a 250 kg total payload rating might comfortably carry an 8 kg crate plus paddler and gear; a lightweight solo hull with a 120 kg rating may feel unstable with the same crate placed too high or too far aft.
Buyer Checklist Before You Commit
Confirm the kayak’s total payload rating and subtract paddler weight, PFD, paddle, and safety gear.
Identify whether your floor is drop-stitch or inflatable, and choose hardware accordingly.
Verify factory D-ring pull strength with the supplier if you plan to carry more than 5 kg.
Decide whether the modification must be reversible. Adhesive patches and straps are reversible; bolts are not.
Test the loaded setup in calm, shallow water before committing to a long trip.
Best for: flat-water fishing, touring, and casual day trips where the crate stays under 10 kg and the hull has a drop-stitch floor or reinforced tube zones. Not ideal for: low-pressure inflatable-floor kayaks, whitewater use, or any hull where the crate would sit above the tube line and raise the center of gravity. Verify when: the kayak is a tandem or high-payload model, or when the crate will carry electronics, batteries, or live bait. Avoid when: the only available attachment points are light-duty recreational D-rings or when installation would require drilling through a seam or baffle. The decision that matters most is not which crate you buy, but whether your hull can safely carry it where you intend to mount it.