

Why Drying Your Commercial Tent Fleet is a Non-Negotiable Cost Control
For commercial tent operators, a wet tent packed away is not just an inconvenience; it is a direct path to material degradation, mold contamination, and a shortened asset lifecycle. The question, how to properly dry a wet tent when you don't have a backyard, is a critical operational bottleneck for rental fleets, glamping sites, and event companies operating in dense urban environments. Without access to a sprawling lawn, the traditional method of pitching the tent to air-dry is often impossible. This guide provides technical protocols for drying your tents efficiently and safely using commercial infrastructure, ensuring your fabric investment and seam integrity remain intact.
Understanding the Risk: Why Rapid Drying is Crucial
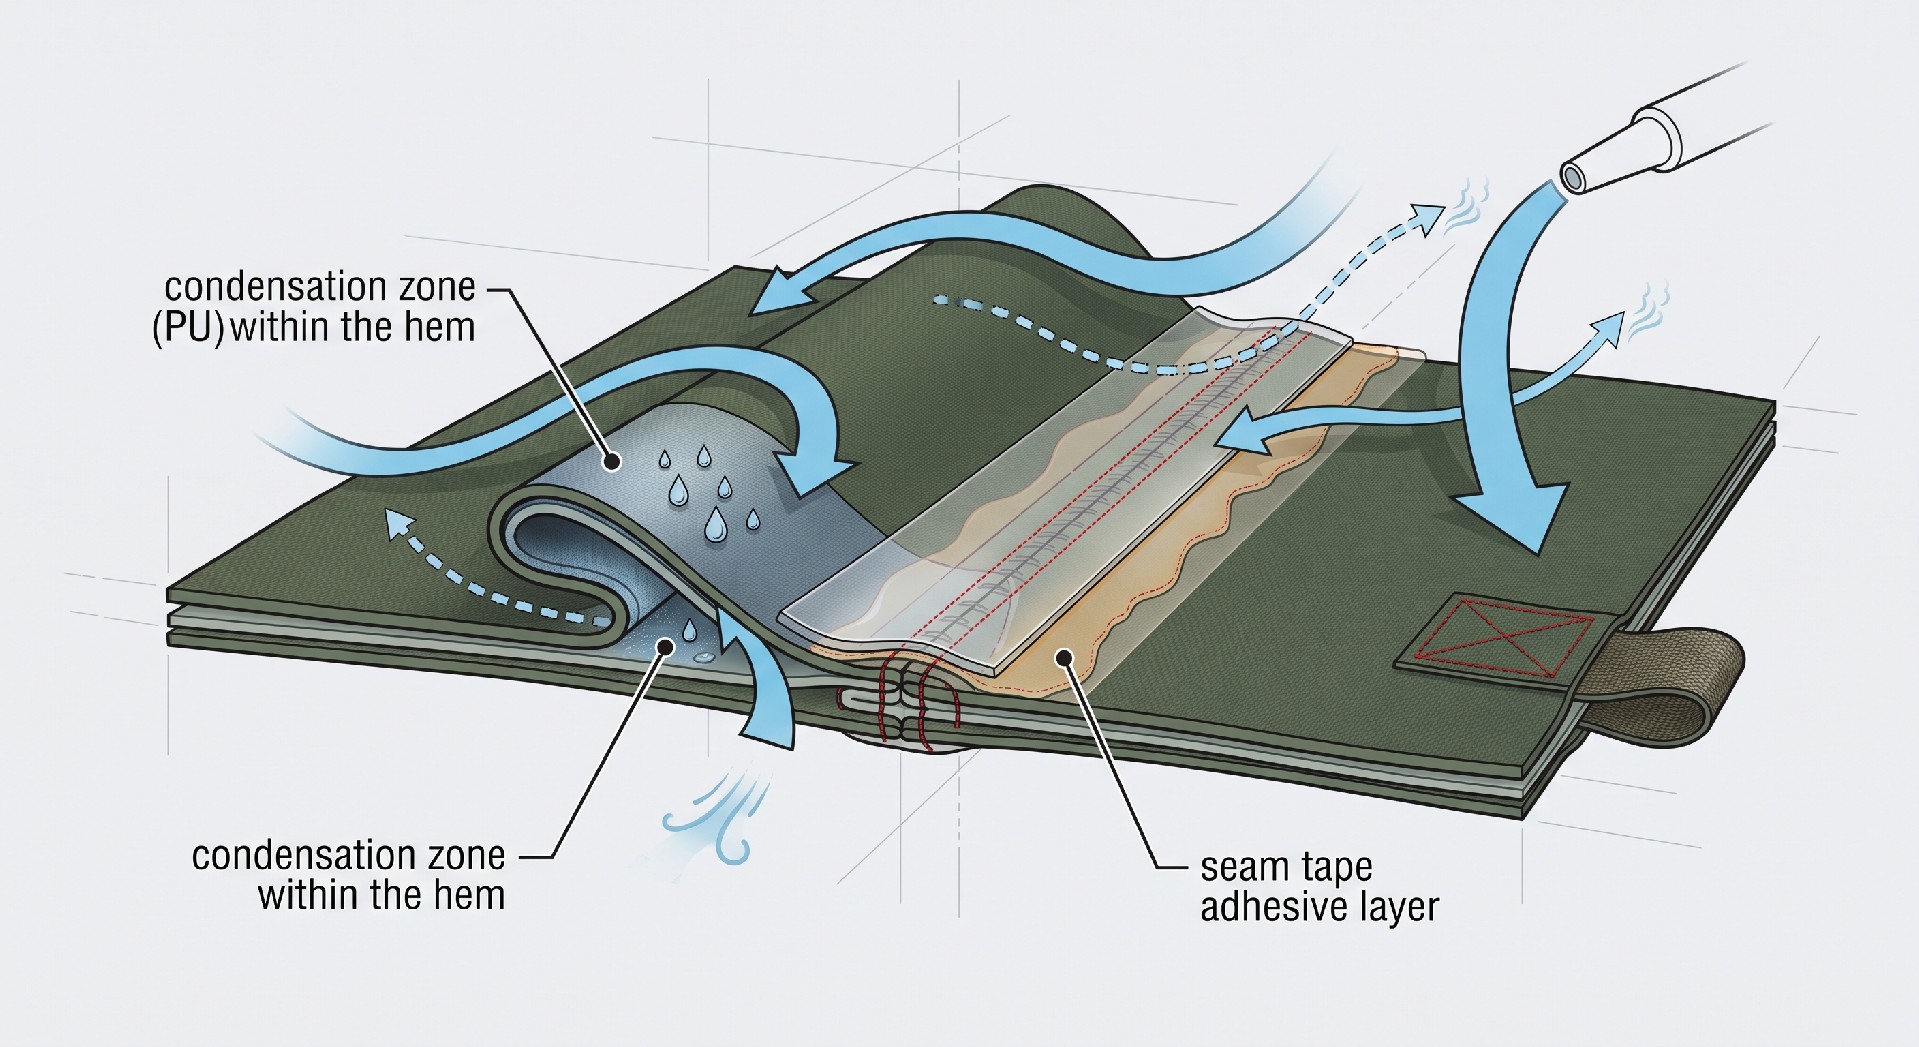
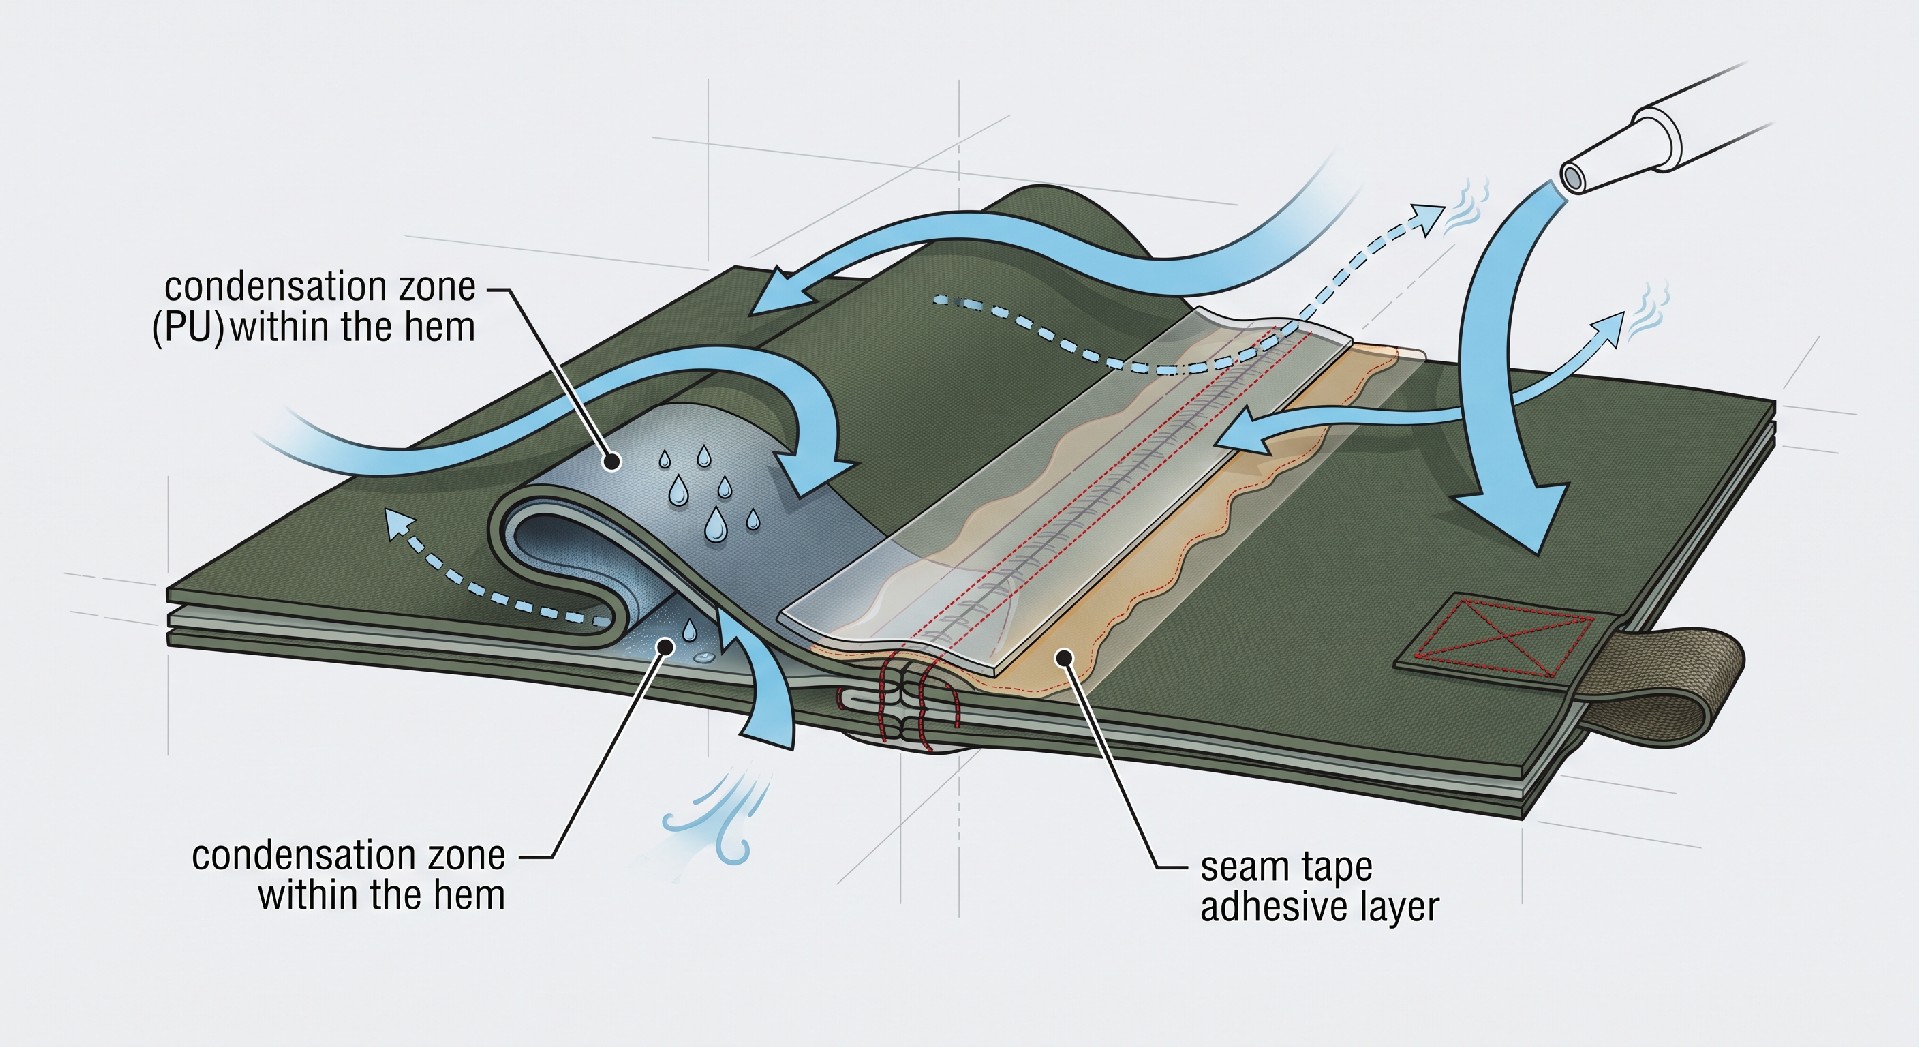
The primary enemies of a modern commercial tent, typically constructed from polyester or nylon with a polyurethane or silicone coating, are moisture and UV degradation. When a tent is packed while damp, it creates a microclimate ideal for mold and mildew growth. Beyond the unpleasant odor, mold spores weaken the fabric’s tear strength and can destroy the waterproof polyurethane coating through hydrolysis. For B2B operators, this translates to premature failure, increased warranty claims, and visible staining that renders a tent unusable for high-end events. The drying process is not just about removing water; it is about stabilizing the material to prevent hydrolysis, a chemical reaction where water breaks down the polymer chains in the fabric coating.
Business Impact of Improper Drying
Increased Repair Costs: Mold-damaged fabric often requires panel replacement, a costly and time-intensive process.
Inventory Downtime: A tent that is drying improperly takes longer to return to rental inventory, reducing revenue capacity.
Reputation Risk: Delivering a musty-smelling tent to a client is a guarantee of negative feedback and lost business.
Commercial Solutions for Drying Without a Backyard
When a conventional yard is unavailable, you must leverage your commercial facility's assets. The core principle is to maximize airflow and surface area while minimizing direct heat, which can degrade seam tape. Here are the primary methods suitable for a B2B environment, ranging from low-tech to high-tech investments.
Method 1: The Indoor Air-Dry Rig
This is the most common approach for rental operations. It involves hanging the tent within a large warehouse, garage, or even a covered pavilion. The key is to hang the tent rather than lay it flat. Laying it on a floor traps moisture against the fabric, preventing proper drying. You need a stable overhead beam or a specialized gantry system.
Setup: Open the tent completely and hang it from its peak loops or ridge lines.
Airflow: Position industrial fans (e.g., 18-24 inch drum fans) to blow air through the tent body, not just at it. The goal is to circulate air inside the canopy and through the floor.
Dehumidification: In humid climates, a commercial desiccant or refrigerant dehumidifier is essential. Without it, the air in the warehouse is already saturated, preventing evaporation.
Method 2: The DIY Tent-Drying Pole Structure
If your warehouse has high ceilings but no convenient hanging points, you can build a temporary frame. This is a cost-effective solution for smaller fleets. Erect a series of vertical poles with horizontal crossbars, creating a large, flat surface to drape the tent over. Ensure the tent is draped in a way that allows air to reach both the inner and outer layers.
Commercial Consideration: This method is suitable for smaller tents but struggles with heavy, large-scale glamping tents (over 50 kg) where the weight can cause stress on the fabric and floor at the draping points.
| Drying Method | Required Equipment | Typical Drying Time (4-Season Tent) | Best Commercial Fit |
|---|---|---|---|
| Indoor Air-Dry Rig | Overhead beam, 2x 18-inch industrial fans | 8 – 12 hours | Small-to-medium rental fleets |
| Drying Pole Structure | Vertical poles, horizontal bars, fans | 12 – 18 hours | Budget-conscious operations, smaller tents |
| Heated Drying Room | HVAC system, dehumidifier, fan array | 4 – 6 hours | High-volume fleets, glamping operators |
| Direct Sunlight (Balcony/Patio) | Sunlight, roof anchors | 4 – 8 hours (weather dependent) | Urban operators with outdoor access |
Accelerated Drying: The Commercial Heated Room Strategy
For high-volume operations, a dedicated heated drying room is a significant investment that pays for itself through reduced turnaround time. This is a highly controlled environment where temperature and humidity are managed. The ideal environment for drying a tent is a warm, dry room with a temperature between 22°C and 30°C (72°F to 86°F) with low humidity (below 40% RH).
Why Heat Helps
Applying gentle, consistent heat accelerates the evaporation process. However, it is critical to avoid high or localized heat, which can shrink the fabric, melt the seam tape, or degrade the coating. Use an industrial space heater or HVAC system to raise the ambient temperature, never point a direct heat source at the tent.
Technical Protocol: Step-by-Step Drying Procedure
To properly answer how to properly dry a wet tent when you don't have a backyard, you must follow a structured workflow. This ensures no moisture is trapped in hard-to-see areas like the stuff sack, pole sleeves, or webbing.
Step 1: Immediate Shake and Sweep
Upon returning from a wet event, immediately shake the tent to remove excess water. Sweep the floor to remove dirt and debris, as abrasion from particles can damage the coating. Do not leave the tent wadded up in a pile; moisture distribution is uneven and will pool.
Step 2: Dry the Components Separately
Separate the tent into its core components:
Fly and Floor: Hang these in your drying rig. Ensure all zippers are open to allow moisture to escape from the teeth.
Pole System: Wipe down each pole section. If using metal poles, moisture trapped in the joints can cause corrosion. Air-dry them separately.
Stakes and Guylines: These can be washed and dried in a mesh bag or simply wiped down.
Stuff Sack and Footprint: These items often hold moisture. Open the stuff sack completely and dry it alongside the tent.
Step 3: The 'Turn-Back' Inspection
After 3-4 hours of drying, turn the tent inside out. This exposes the inner floor and the interior of the fly to the airflow. This is also a crucial inspection point to check for moisture trapped in the seams or the hem of the floor, which are notoriously slow to dry.
Step 4: The Packing Test
Before packing, perform a quick test. Fold a corner of the tent and squeeze it. If it feels cool, it is still damp. Coolness indicates evaporation, meaning moisture is still present. If it feels dry and ambient temperature, it is ready to pack. Never pack a tent immediately after drying; allow it to cool completely to prevent condensation inside the storage bag.
Commercial Decision: Storage vs. Next Deployment
Once the tent is dry, your next decision depends on its status. If it's going into long-term storage, it is a good commercial practice to pack it loosely rather than tightly compressing it. Tight compression can stress the fabric and coatings, especially in extreme temperature fluctuations. If it's going out on the next rental, you have the advantage of a fresh, clean tent.
For B2B buyers, implementing these protocols directly impacts your bottom line. The cost of a dehumidifier or a drying rack is significantly less than the cost of replacing a fleet of tents prematurely due to mold or hydrolysis. The final commercial decision is to integrate this drying phase into your operational SOP (Standard Operating Procedure) as a non-negotiable step, assigning a specific team member to oversee the process and sign off on the 'dry' status before the tent is returned to inventory.