

Why Camping Gear Smells After Storage and What to Do About It
After months in a garage, attic, or storage unit, camping gear often develops a musty, stale, or chemical smell. This is not just an unpleasant surprise before a trip. For commercial rental operators, gear buyers, and outdoor facilities, persistent odors indicate moisture damage, microbial growth, or off-gassing from materials that have been confined in warm conditions. These odors can affect the user experience and, in some cases, point to actual degradation of fabrics, coatings, and seams.
This guide provides a systematic, field-tested process for airing out and deodorizing camping gear after long-term storage. The methods focus on tents, sleeping bags, backpacks, and fabric-based equipment, using techniques that preserve technical materials while effectively removing stale, mildew, and synthetic smells. For B2B buyers and commercial fleets, a consistent deodorizing protocol ensures every rental unit delivers a fresh, confidence-inspiring experience to clients. The goal is to address the root cause of the smell, not just mask it.
The process involves three stages: assessment, active aeration, and targeted treatment. The approach varies depending on the material, the storage duration, and the local climate. Rental operators often implement this as a standard part of their seasonal re-commissioning procedure.
Understanding the Source of the Odor
Before using any treatment, identify the nature of the smell. Different sources require different solutions.
Musty or moldy odor: This is the most common result of storage. It indicates that the gear was packed with residual moisture. Even slight humidity can lead to mildew in organic fibers (cotton, canvas, down) and on the surface of synthetic materials. This smell can also be trapped in foam padding or insulation.
Chemical or plasticky smell: This often comes from the off-gassing of polyurethane coatings, PVC, or flame-retardant treatments, especially when stored in a hot environment or in a confined space without ventilation. Newer gear may have a stronger version of this smell from factory VOC emissions.
Stale or musty dust smell: This is caused by trapped dust, pollen, and airborne particulates that have accumulated on the fabric over time. Combined with natural humidity cycles, this mixture can ferment and produce an unpleasant, earthy odor.
Fuel or smoke odors: If the gear was stored near gasoline, campfire smoke residue, or other strong-smelling sources, the fabric will absorb these volatile compounds. This type of odor is the most difficult to remove and may require multiple cleaning cycles.
Commercial buyers should also consider the facility's storage environment. Is it climate-controlled, or does it experience seasonal humidity swings? This factor determines the baseline level of odor prevention required.
Step 1: The Complete Decommissioning Assessment
Before airing anything out, inspect each piece thoroughly. This prevents you from wasting time on gear that requires deep cleaning or repair first. Commercial rental fleets should use a standardized checklist for every unit.
Visual check: Look for visible mildew spots, soiled areas, or discoloration. These are signs of biological growth or deep-set dirt that aeration alone will not address.
Moisture test: Touch the fabric and insulation. If the gear feels damp or cold, it has retained moisture and needs drying before any deodorizing treatment.
Damage assessment: Check for seam separation, delamination of coatings, or UV degradation. If coatings are cracking or peeling, they may be the primary source of a chemical odor and the gear may be near the end of its useful life.
Use a checklist to document the condition of each item. For high-value shelter tents or sleeping bags, this inspection can save costs by identifying repairable items and eliminating those that cannot be restored.
Step 2: The Airing and Ventilation Protocol
Proper aeration is the most effective single step for eliminating musty and stale odors. This is not a passive process; it requires active setup and time.
Preparation
Set up all gear in a large, ventilated, and protected outdoor area. This can be a covered patio, a large garage with opened doors, or a dedicated setup yard for commercial fleets. If outdoor conditions are rainy or humid, you must use an indoor space with powerful exhaust fans. Direct sunlight is beneficial for drying but can degrade some materials (especially nylon and polyester) over extended exposure. Limit direct sun exposure to a few hours, then move the gear to a shaded, breezy area.
For Tents and Shelters
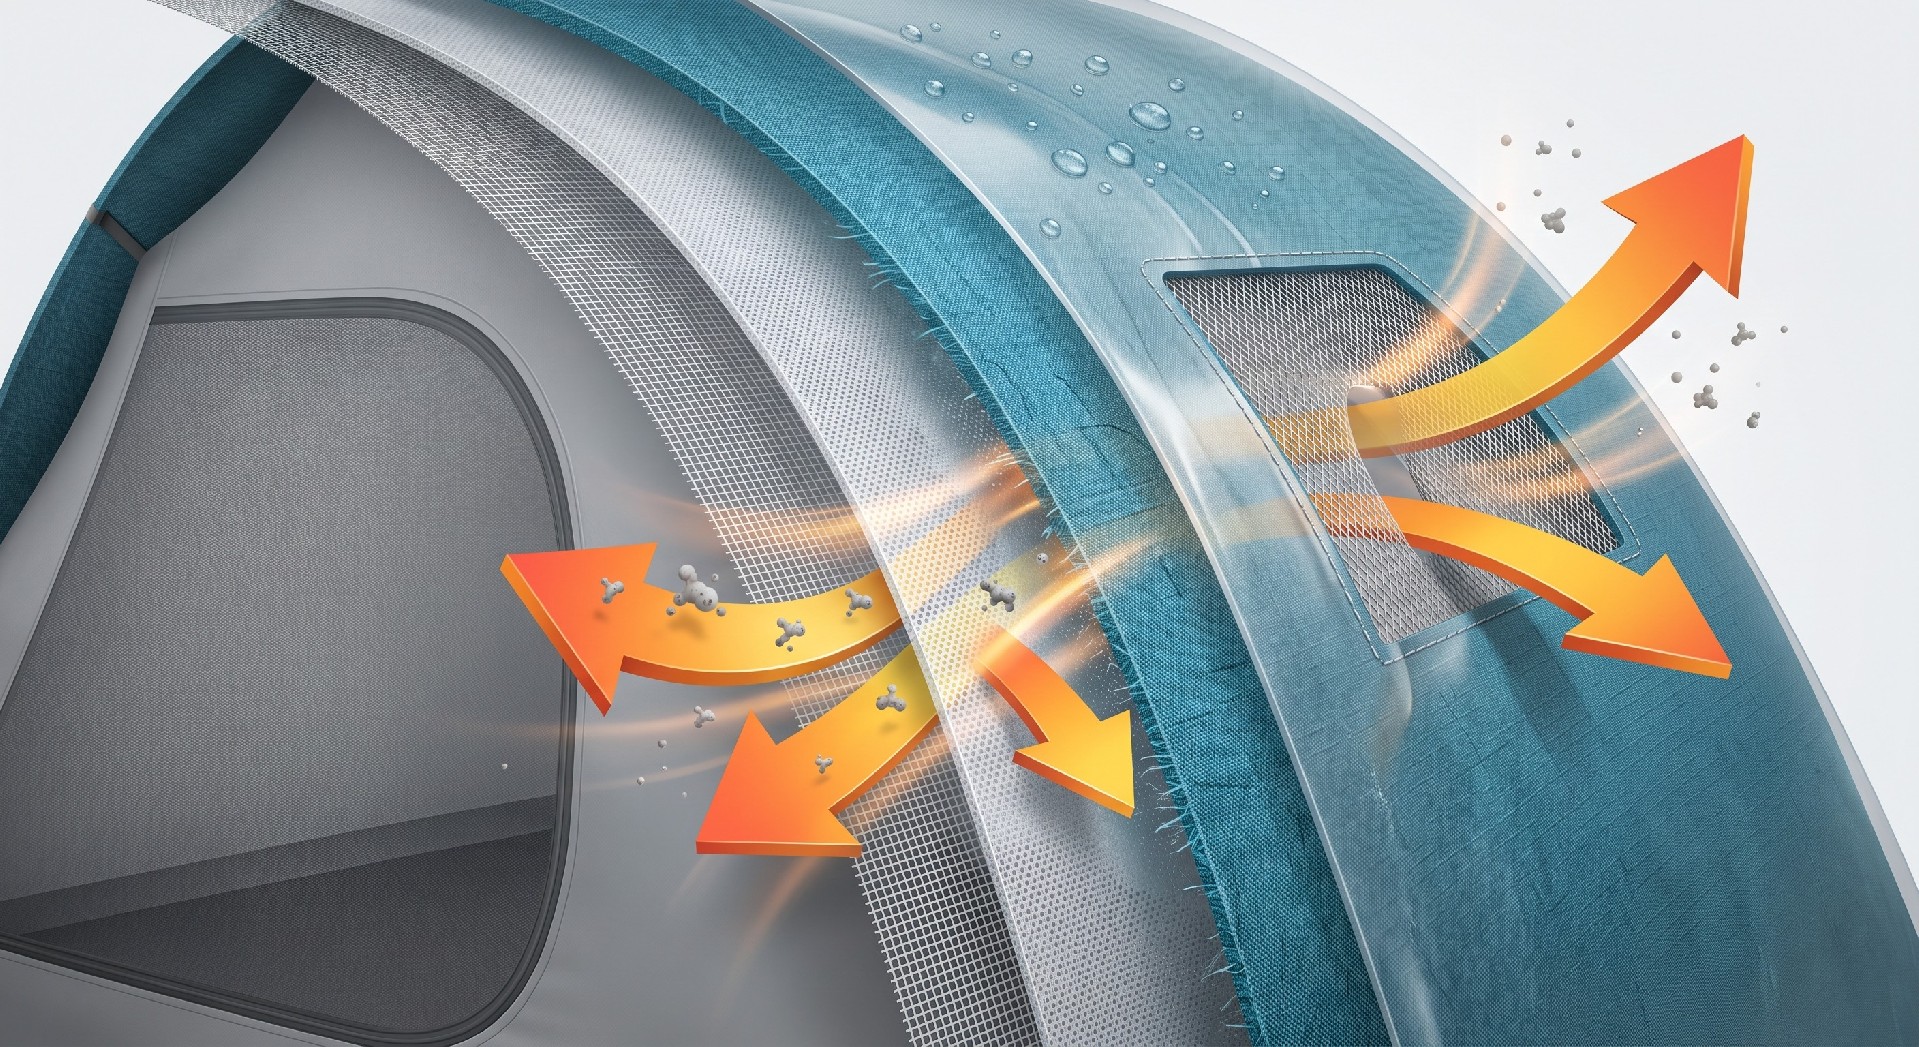
Pitch the tent fully, including the rainfly, if it is not wet. Open all doors, windows, and ventilation panels. This maximizes airflow through the tent body and allows trapped moisture to escape. Leave it set up for at least 24 hours in dry conditions. If a tent has a particularly strong chemical odor, consider a multi-day setup, bringing it in at night to avoid dew and setting it out again the next day. Rotate the tent position to allow wind to hit different sides.
For Sleeping Bags
Unzip the sleeping bag completely and shake it to break up any clumped insulation. Hang it over a wide clothesline or a specialized sleeping bag drying rack. Do not hang a wet bag from a single point, as this can cause the insulation to shift downward. Turn the bag inside out for a few hours, then right-side out again to allow the lining and outer shell to ventilate equally.
For Backpacks and Soft Goods
Unzip all compartments and pockets. If the backpack has a removable frame or stays, remove them to allow air to circulate through the body. Prop open the main compartment with a piece of cardboard. Hang the backpack upside down from its haul loop to encourage airflow through the shoulder straps and back panel.
Aeration should proceed for at least 24 to 48 hours for typical stored gear. However, for gear that has been sealed in a plastic tote for a year or more, you may need up to four days of active airing.
Step 3: Deodorizing Treatments and Procedures
If aeration alone is insufficient, you can proceed to more active deodorizing methods. These should be used selectively based on the smell source and the material type.
For Musty Smells
Use a commercial fabric-safe cleaning solution, often labeled for outdoor gear. Many contain a mild enzymatic cleaner that breaks down the organic matter producing the odor. Follow the manufacturer's instructions for dilution and application. Test the solution on a small, hidden area of the fabric first. Use a soft brush or sponge to work the solution into affected areas. Rinse thoroughly with clean water and allow the item to dry completely in a ventilated area.
For down-filled sleeping bags, use a specialized down cleaner. These have a neutral pH that does not strip the natural oils from the down or damage the water-resistant coating on the outer shell. Do not use regular laundry detergent, as it can leave residues that trap odors.
For Chemical and Synthetic Smells
Chemical off-gassing is more difficult to eliminate. Aeration is still the primary method. You can accelerate the process by using a fan to create continuous airflow around the gear. Some commercial facilities use a heat-driven process, but it requires careful monitoring to avoid heat damage. A more aggressive approach is to use an activated carbon or charcoal absorber placed near the gear. This works passively and can help absorb airborne volatile compounds over a period of several weeks.
For Insulation and Foam Pads
If the odor is trapped inside a closed-cell foam pad or a self-inflating pad, it is often locked in the closed cells. Airing is less effective. You can try wiping the surface with a mild soap solution, but if the odor persists, the pad may need to be replaced. For commercial fleets, accounting for this in the lifecycle management plan is essential.
Do not use bleach, vinegar, or baking soda as universal remedies. Vinegar can leave a pungent smell of its own and may corrode certain metal hardware (such as zipper sliders). Baking soda can be difficult to remove from textured fabrics and can cause abrasion.
| Odor Type | Typical Cause | Restoration Method | Time Required |
|---|---|---|---|
| Musty/Mildew | Moisture left in fabric, insulation, or foam. | Thorough aeration, followed by specialized wash (enzymatic cleaner) if needed. | 24-48 hours of aeration, plus drying time after washing. |
| Chemical/Plastic | Off-gassing from PU coatings or PVC, often accelerated by heat. | Extended aeration (several days), with fans, and activated charcoal placed nearby. | 3-7 days of active aeration, sometimes longer. |
| Stale Dust | Trapped dirt, pollen, and airborne particles decomposing on fabric. | Shaking, brushing, and aeration. Vacuuming can also be effective for backpacks. | A few hours of shaking and aeration often suffice. |
| Fuel/Smoke | Absorbed volatile compounds from campfire smoke or gasoline fumes. | Difficult to remove. Aeration and professional washing may be required. | Longer than a week, or replacement may be more economical. |
Step 4: Commercial Fleet Deodorizing Process
For rental companies or outdoor centers that manage multiple units, a standardized process ensures consistency and efficiency. The following workflow integrates assessment, aeration, and cleaning into a single, manageable operation.
After a tent has been returned, it should be inspected for damage and dirt. It should then be set up in the facility's drying yard or ventilation zone for at least 24 hours. Any visible mildew spots are cleaned with a dedicated gear wash. The tent is then packed loosely into a breathable storage bag, not into a plastic compression sack. This allows any residual moisture to escape.
For gear that is being sold to private-label buyers, the same process applies. If a buyer is purchasing gear that has been previously stored or is part of a bulk lot, they should request evidence of the seller's deodorizing or cleaning protocol.
When to Replace Instead of Deodorize
Some conditions indicate that a piece of gear is beyond the point of deodorization and should be replaced. This applies to both personal gear and commercial fleets.
Severe mildew penetration: If the mildew has caused the fabric to weaken or the seam tape to delaminate, the structural integrity is compromised. The odor is just a side effect of that degradation.
Persistent chemical smells: If a tent continues to have a strong plastic smell after a week of aeration, the polyurethane coating may be actively degrading, a process that cannot be stopped.
Unsuccessful cleaning: If a sleeping bag fails to freshen after three cleaning attempts, it is unlikely to improve with further effort.
Replacement decisions should be based on the cost of replacement versus the cost of continued maintenance and the risk of a customer complaint. For an importer or distributor, providing a customer with gear that has failed a deodorizing process will lead to returns and loss of trust. It is far more economical to replace questionable units.
Prevention for Next Season
The best way to handle odors is to prevent them from forming during the storage period. The following practices are recommended for all camping gear, particularly for commercial buyers.
Store dry, always: Before storage, ensure that all gear is thoroughly dry. This includes the interior of tents, the fabric of backpacks, and the filling of sleeping bags. If you have any doubt about dryness, set it up to air for another 24 hours.
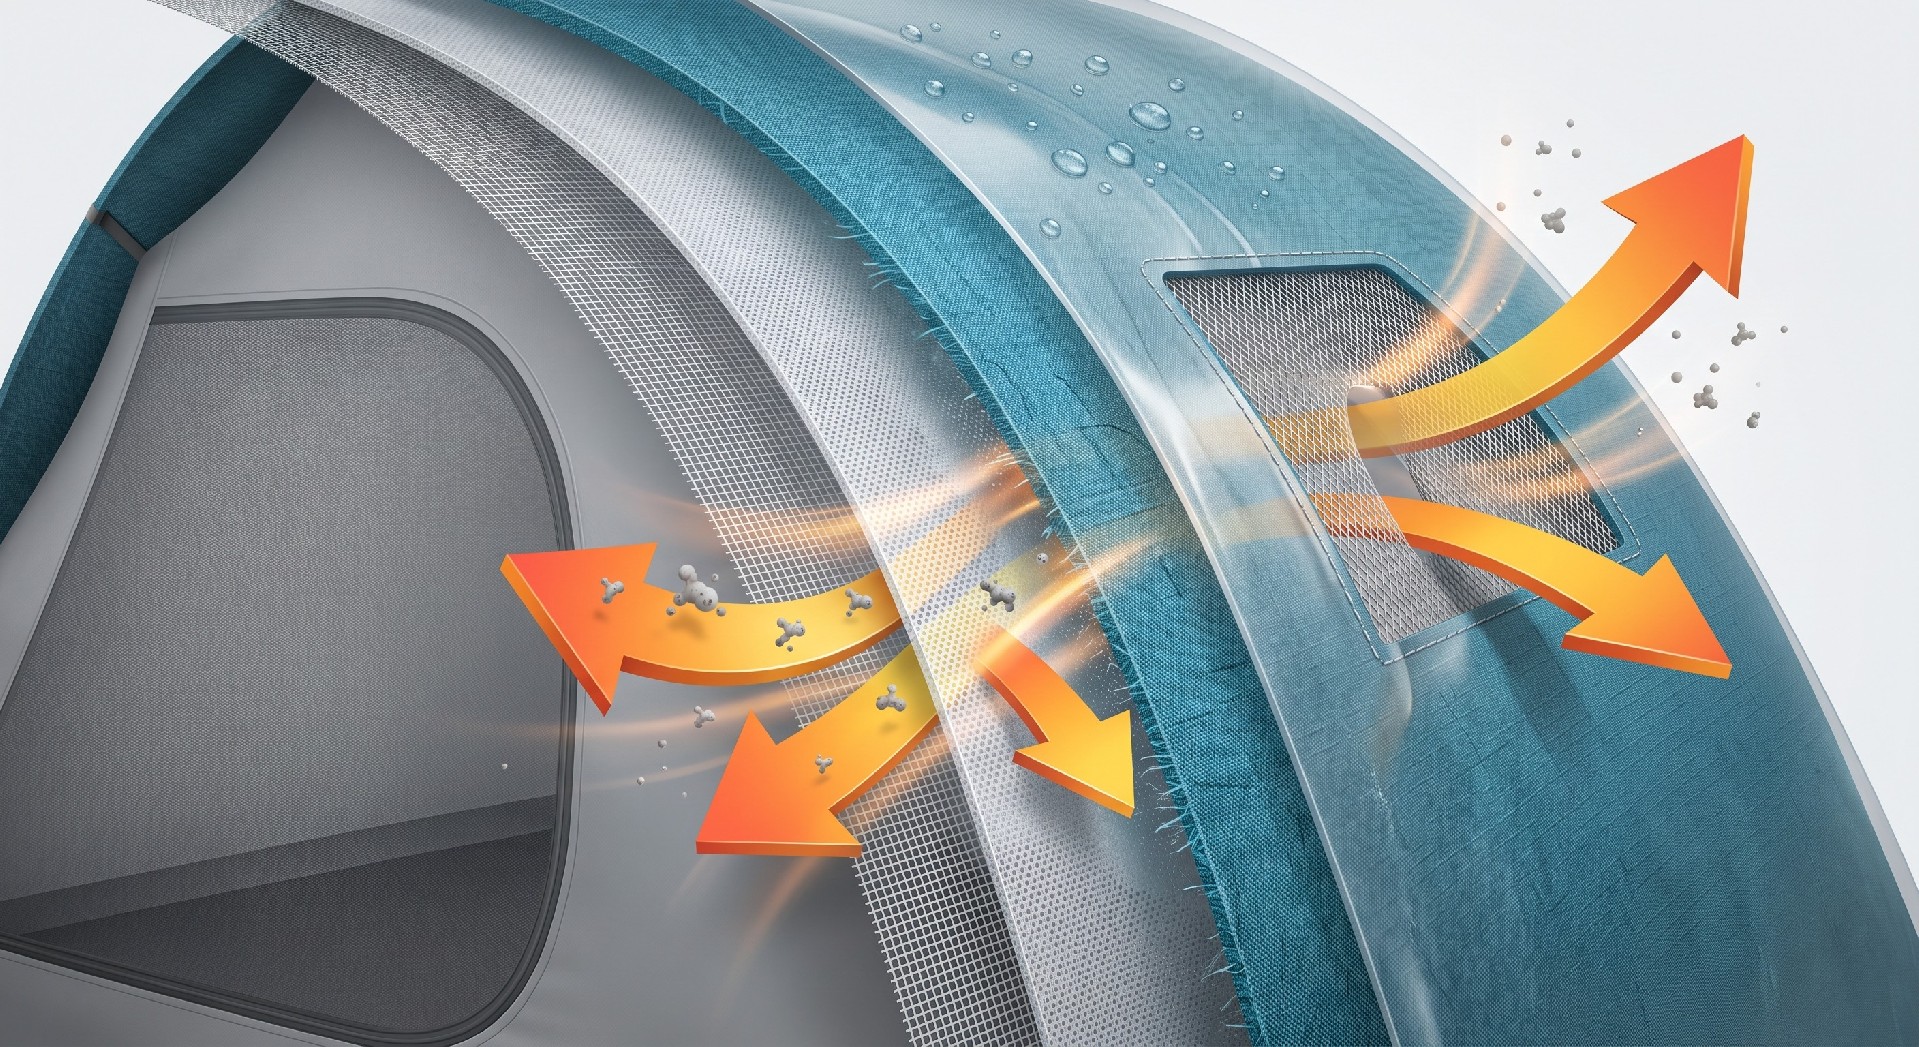
Use breathable storage: Store tents in their original cotton or mesh storage bag, not in a stuff sack or sealed bin. This allows air circulation and prevents the buildup of trapped moisture.
Avoid plastic: Do not store camping gear in plastic bags, totes, or sealed containers for long periods. This traps both moisture and volatile compounds, increasing the chance of mildew and chemical smells.
Control the environment: If possible, store gear in a climate-controlled area that remains below 70°F (21°C) and with a relative humidity below 50%. This prevents the growth of mold and reduces the rate of off-gassing.
For commercial rental operations, implement a pre-storage checklist that documents the drying and cleaning procedures for every unit before it goes into the off-season warehouse. This checklist can be the final step in the return processing and can significantly reduce the re-commissioning workload.
Final Decision: Choosing a Restoration or Replacement Plan
For B2B buyers, whether you are a rental operator, a facility manager, or a distributor, the decision between restoration and replacement is a commercial one. The process laid out in this guide allows you to restore a significant portion of your gear to a fresh, usable state at a low cost. However, for units that show signs of severe degradation, the investment in time and materials for deodorizing is not justified.
Establish a clear set of criteria for restoration. For example, tents with mild musty odors and no visible mold are almost always restorable. Sleeping bags with dust smells can be aired and cleaned. However, tents with extensive black mildew spots or sleeping bags with a permanent chemical smell should be flagged for replacement. This decision matrix becomes a critical tool for budget planning and quality control. Your customers' experience depends on the absence of offensive odors, making this a fundamental operational and commercial consideration.